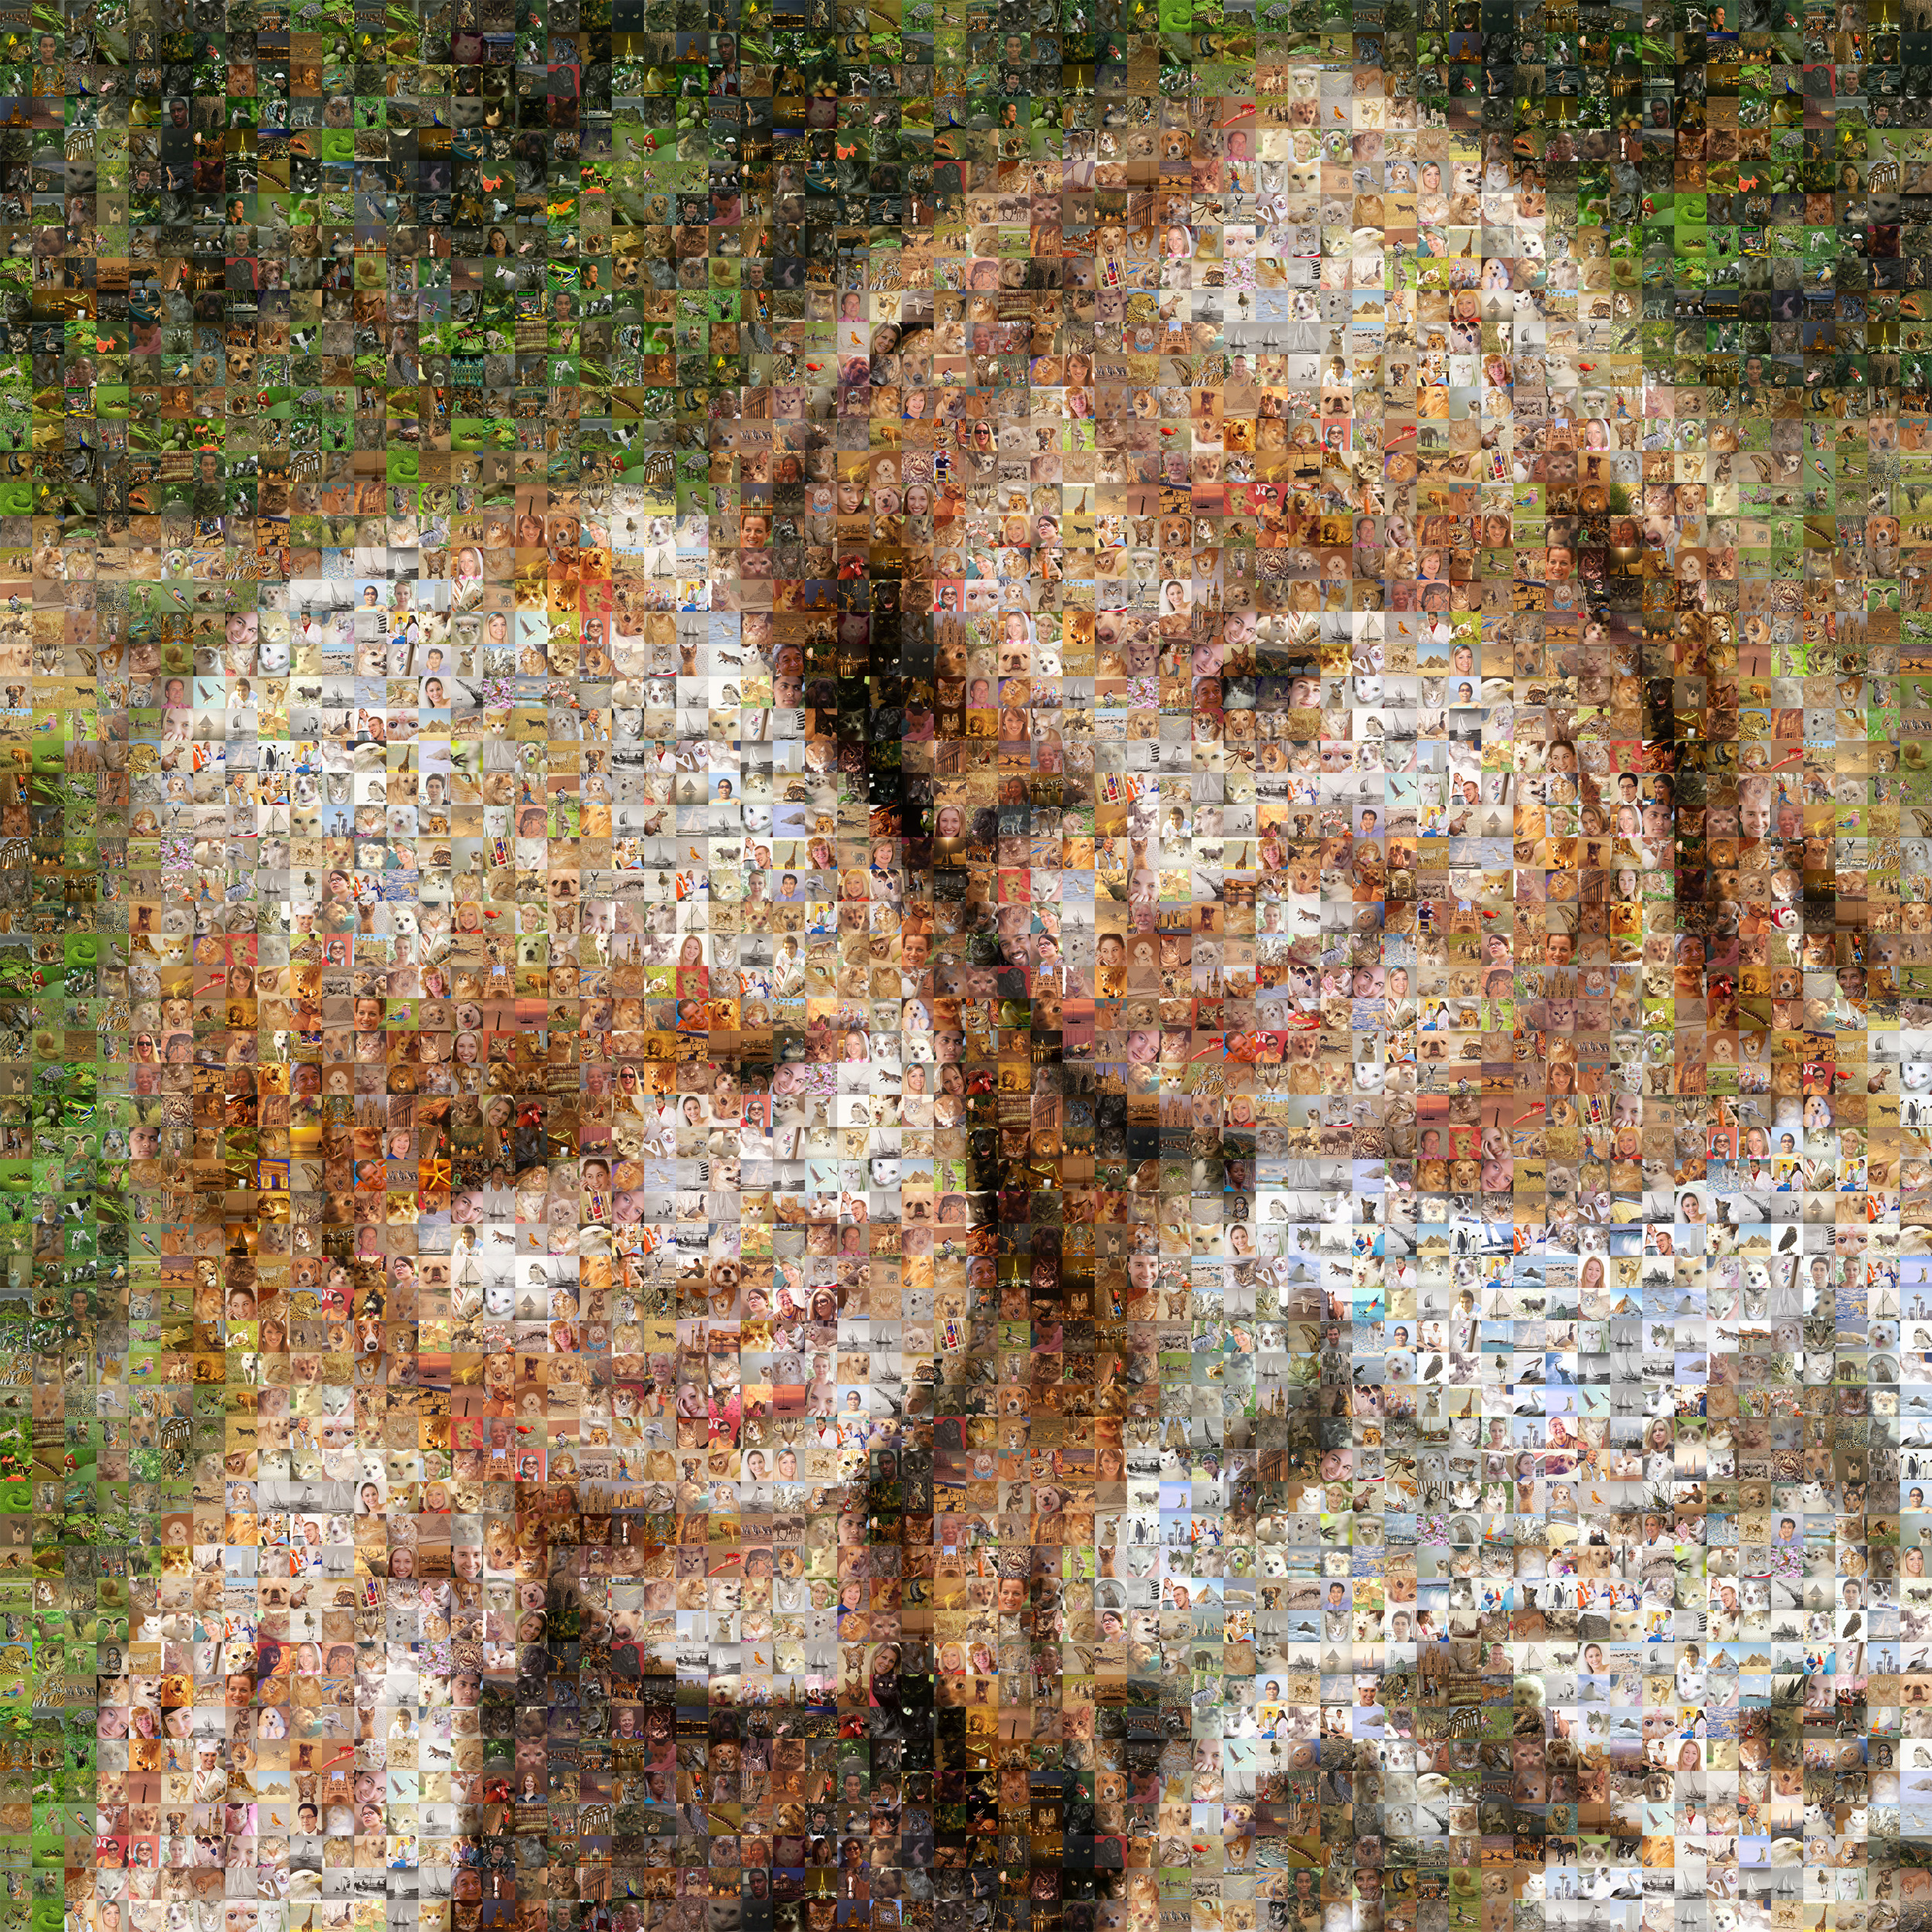
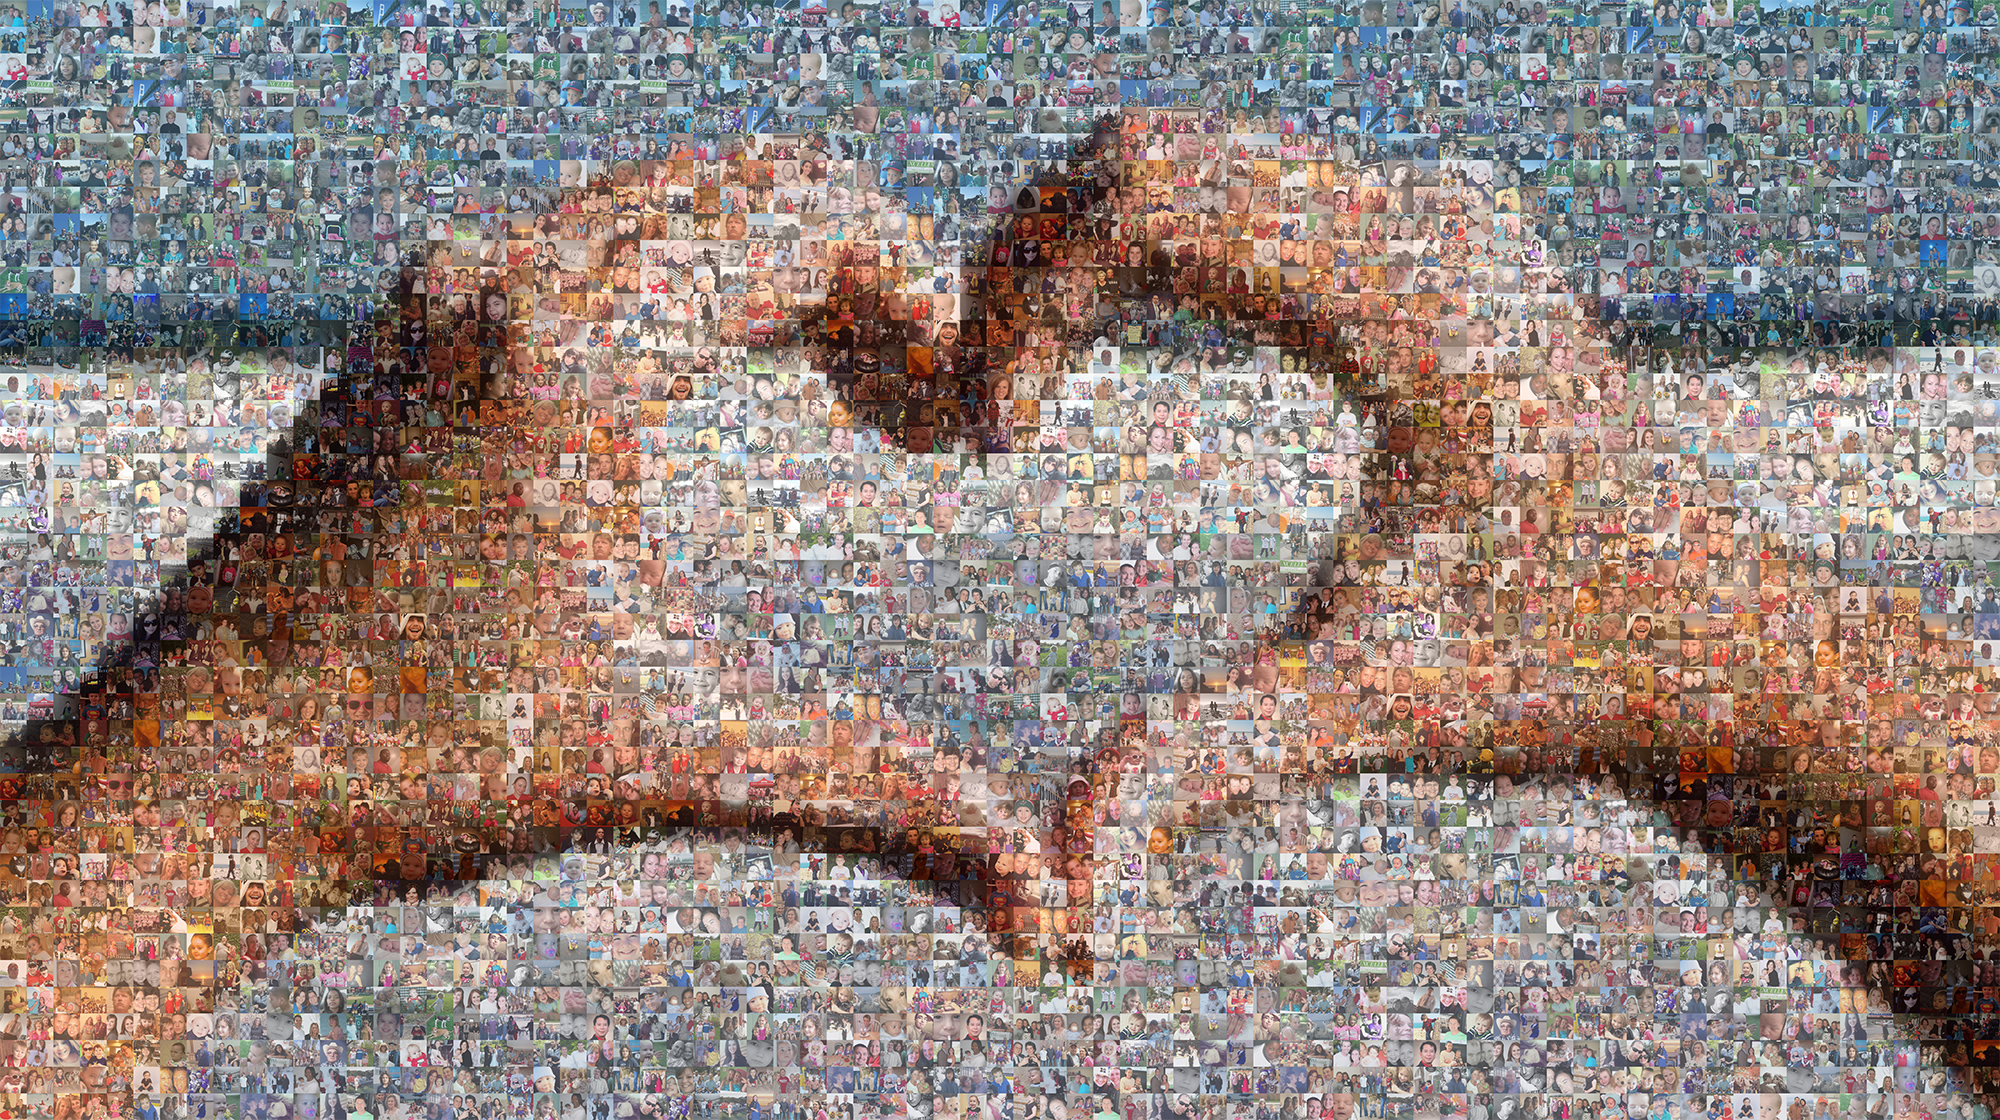
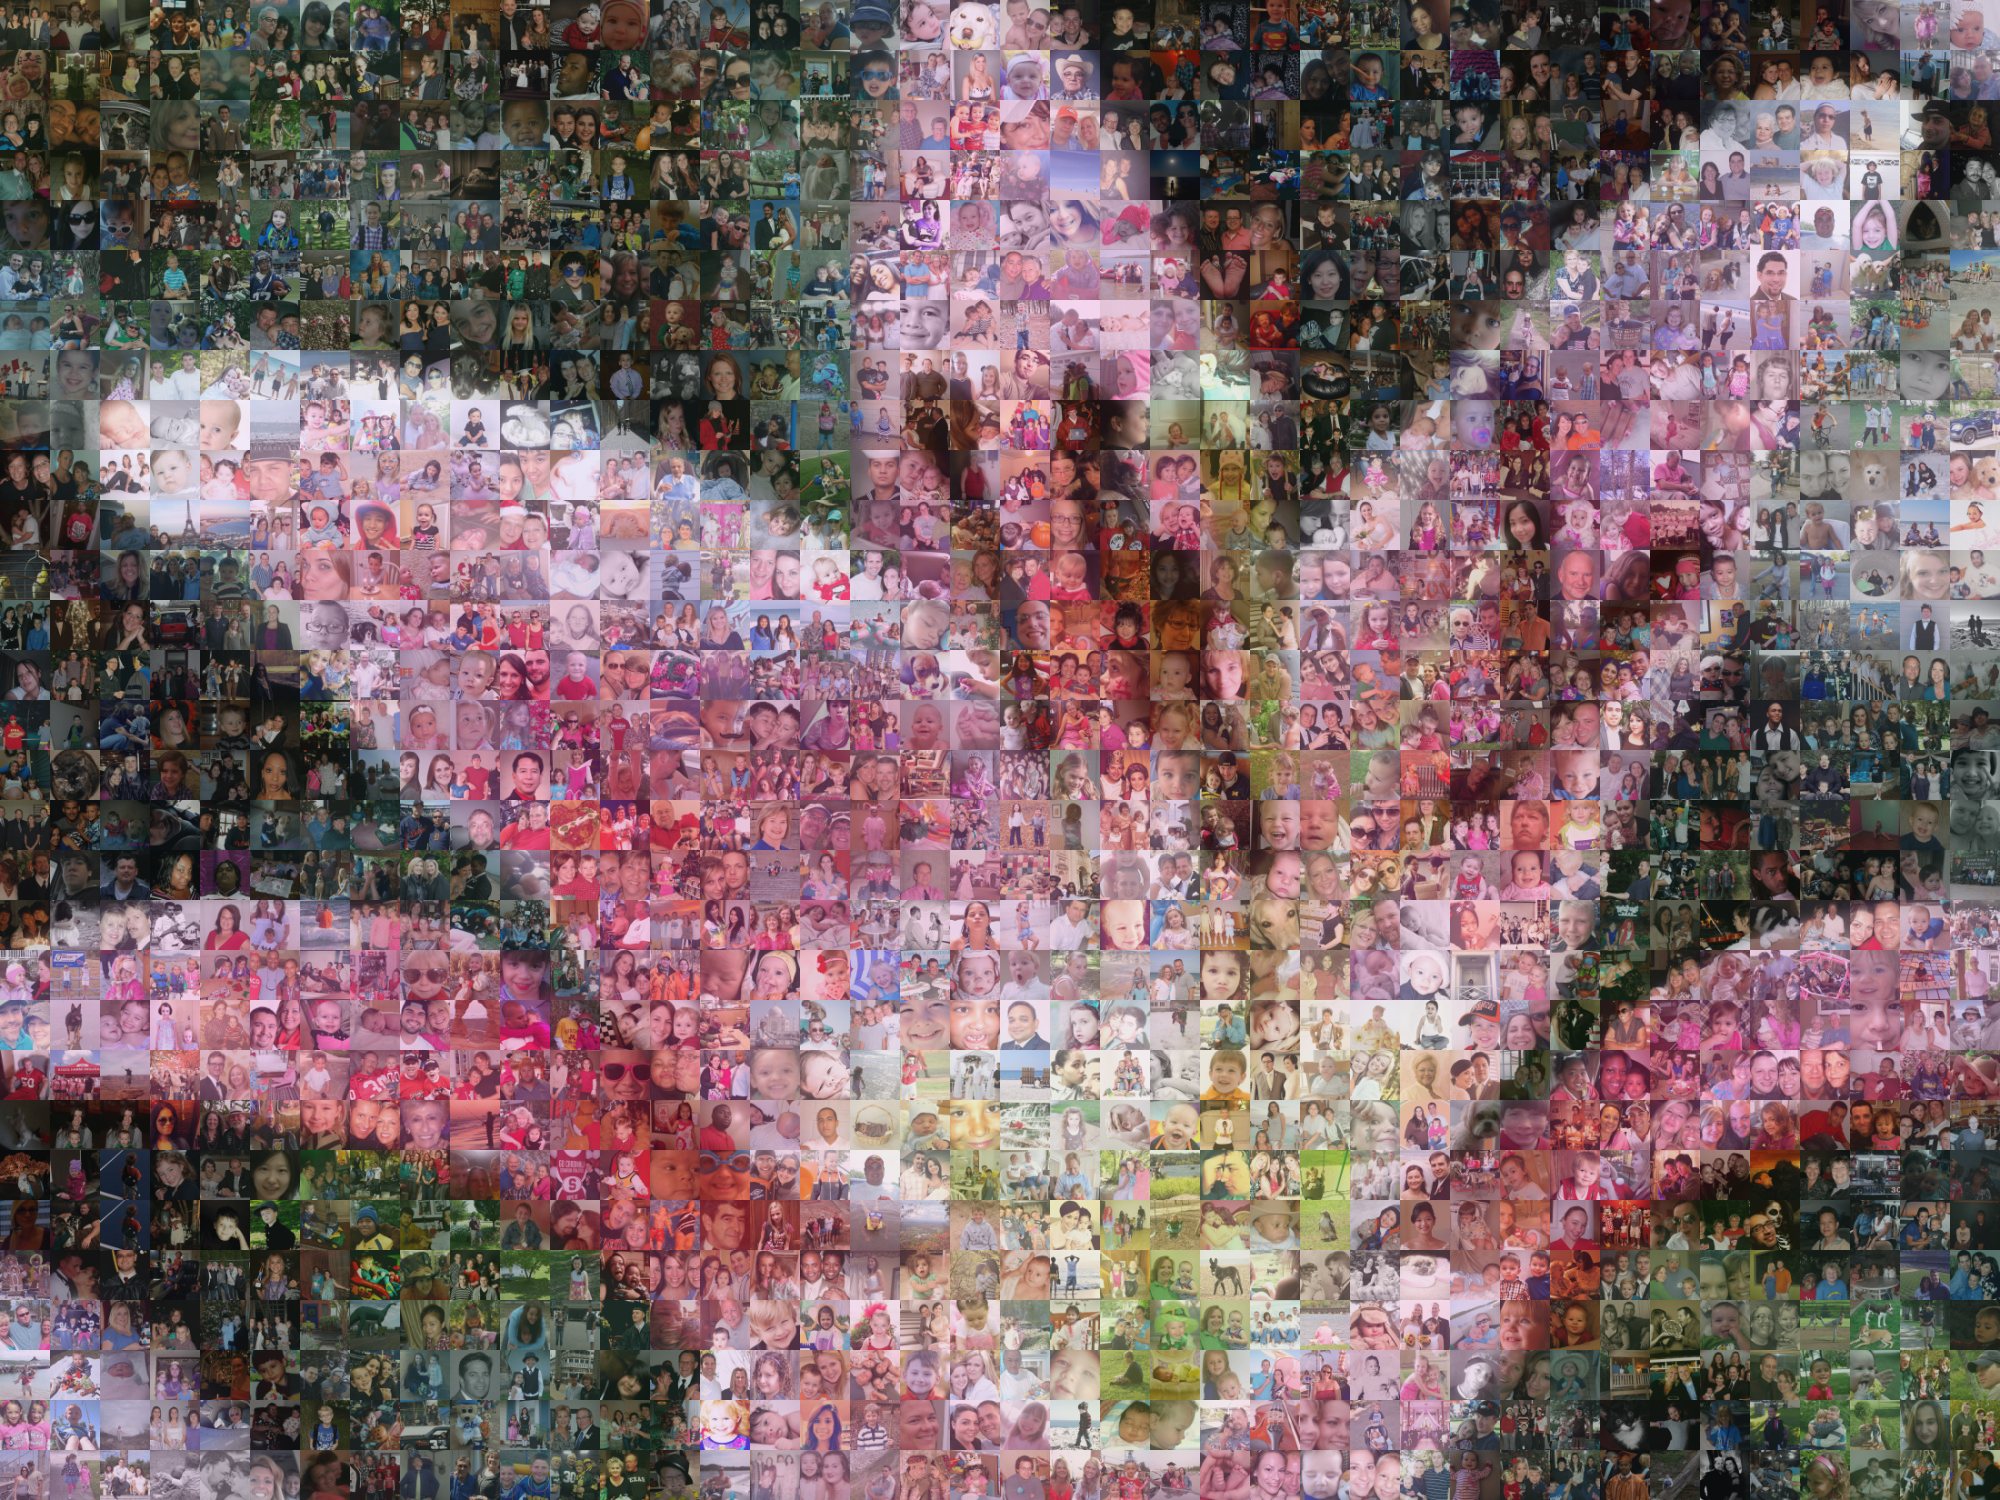
Throughout our 12+ years of photo mosaic design, we’ve managed to fine tune the elements required to create a “true” mosaic. One thing we’ve learned: it’s not easy. After toiling away with the existing photo mosaic software, we decided to create our own and we never looked back. A common shortcut we’d find is heavy colorization and source ghosting. Let’s dive into the specifics of each and how they can make – or break – your photo mosaic.
Top Three DON’Ts of Photo Mosaic Design
With the release of our Online Mosaic Tool, we gave the users a sizable amount of power when creating their own photo mosaics. But as we all know: with great power comes great responsibility! True photo mosaic design isn’t something that just happens. It requires plenty of practice and a keen attention to detail. Throughout the years, we’ve seen a number of mosaic shortcuts that result in cheap, false photo mosaics. A number of factors go into the process of creating a mosaic, but I’m going to focus on the top three DON’Ts of photo mosaic design.
How-to: The Perfect Photo Mosaic
Our Online Mosaic Tool makes it super easy for you to create free photo mosaic using your photos in just a few clicks. Just upload, design, and create – it’s that simple. Here are a few simple tips and tricks to really help your photo mosaic to shine.
Choosing a Photo Mosaic Source Image
One of the most important components of a photo mosaic is the source image. A source image is the bigger picture that the smaller photos (called “cells”) will create. Any photo can be used as a source image, but not just any photo will the completed photo mosaic that WOW factor. The real question is how well the photo will survive the mosaic transformation. For this post, I’ll be focusing on portrait photos. Landscapes, logos, and other non-human subjects will be addressed in future posts, so stay tuned!
When using a photo of people as your source image, it’s important to consider facial recognition. In order for facial shapes and details to survive the photo mosaic transformation, you’ll want the faces to encompass a fairly large portion of the image, measuring at least 1/3 of the width and height of the entire photo. This will allow a great amount of detail and clarity to come through in the photo mosaic. Here are a couple examples of photos that should produce good facial recognition:


