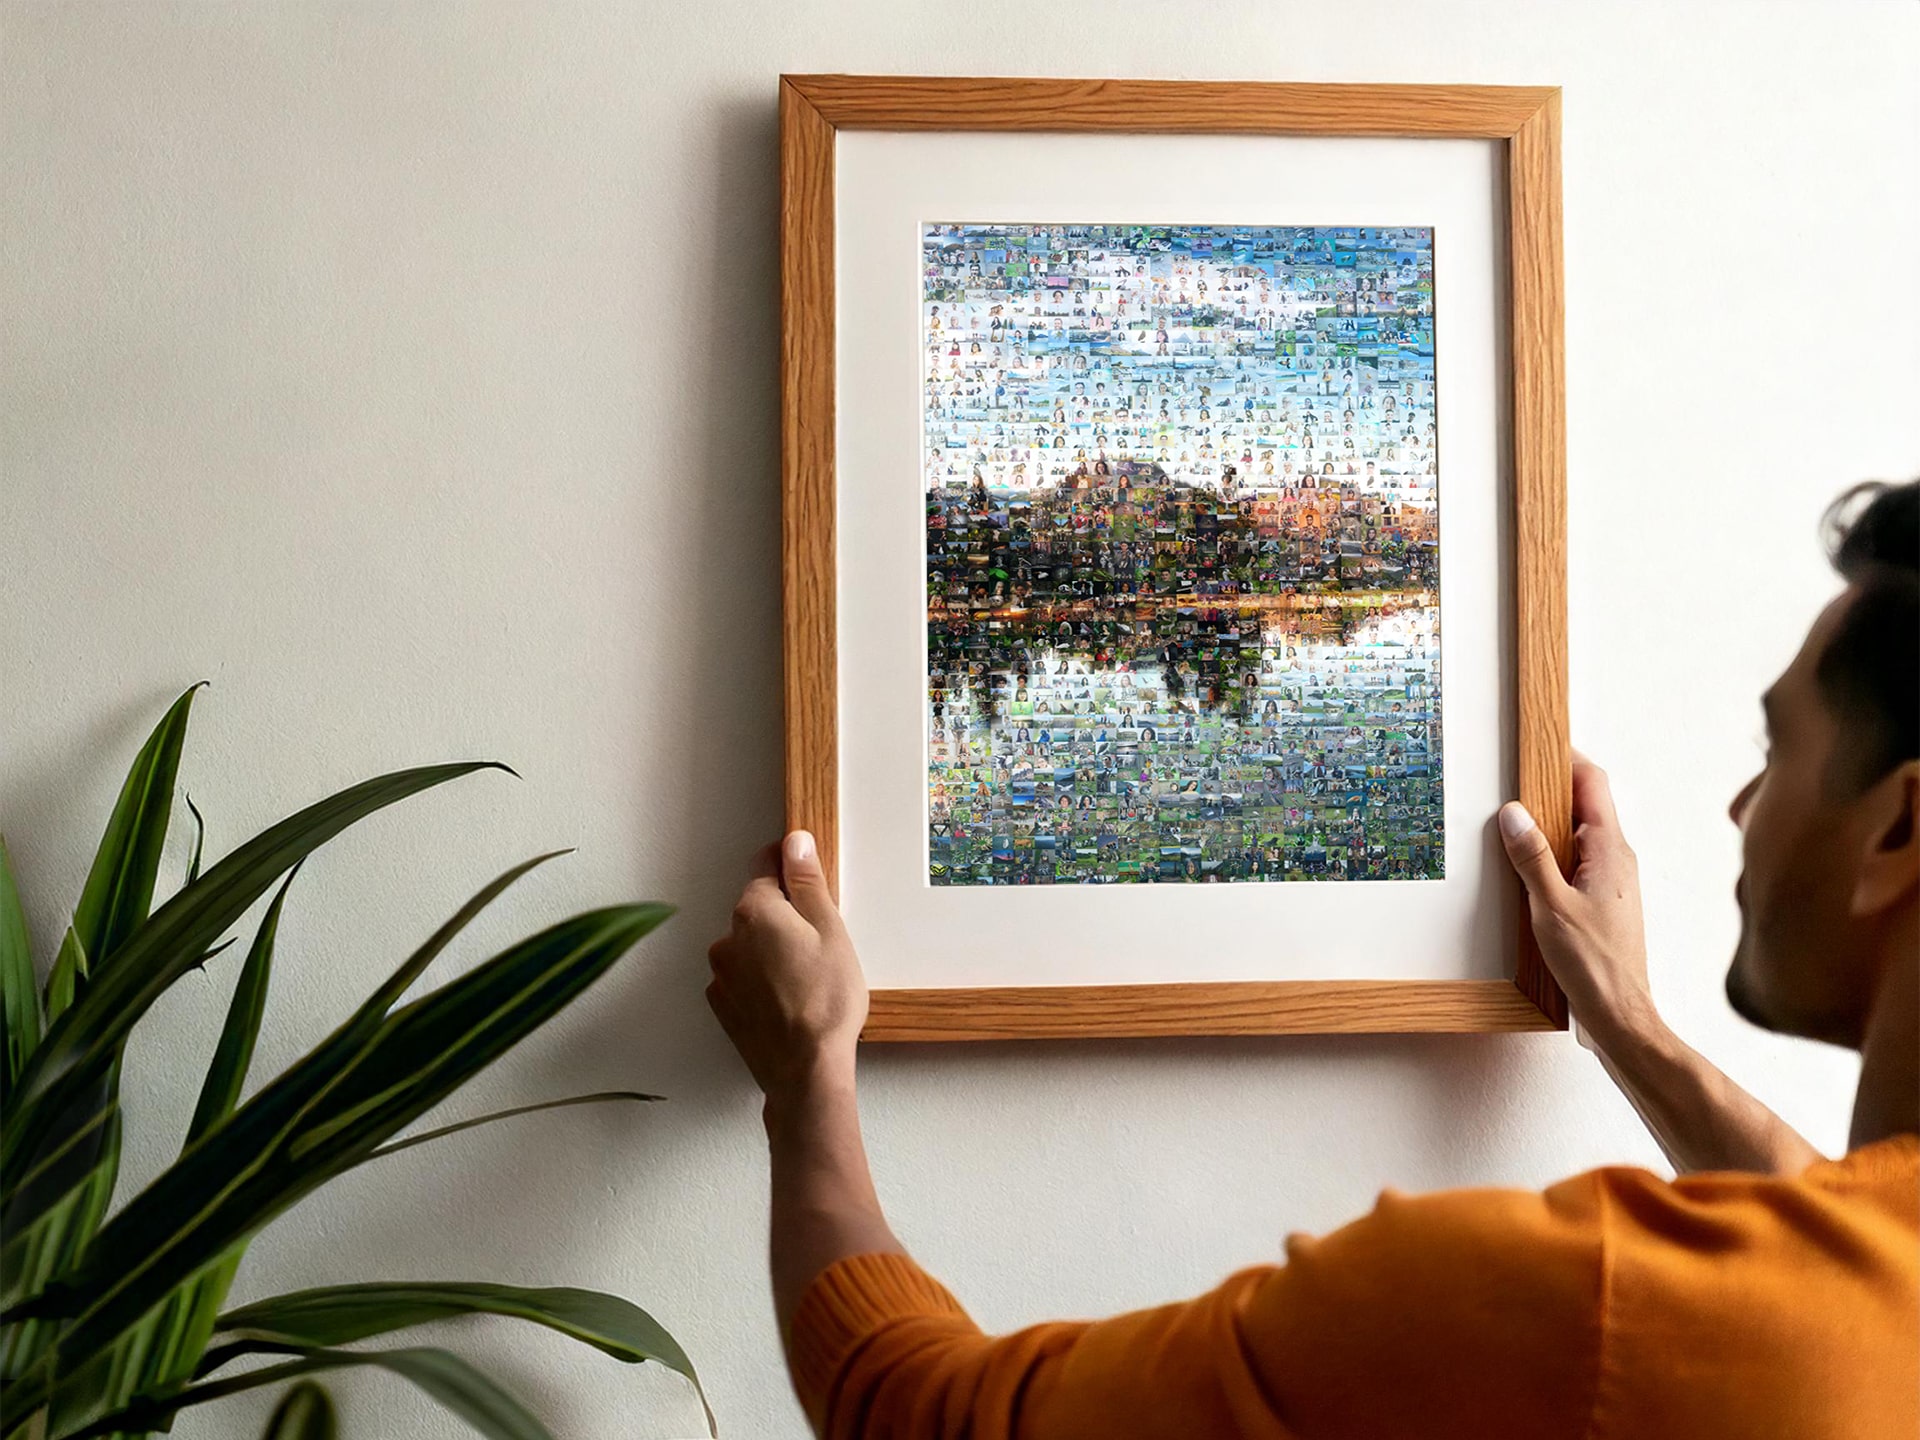
The first step in making a photo mosaic is first understanding what a photo mosaic is. A photo mosaic is a creative way to display hundreds or even thousands of smaller images all at once. These images are carefully arranged in a grid to build an overall main image. From a distance, the collection of photos blends together to create a beautiful work of art, but up close, each individual image can be viewed.
What is a True Photo Mosaic?
Unlike some software that simply overlays a transparent main image on top of a grid, The Online Mosaic Tool makes true mosaics. True Mosaics use the shapes and colors of the cell photos to build the final picture organically, with minimal image and color overlay.
Key Elements to Consider
1. The Main Image
Your main image is the foundation and road map to create your mosaic. It’s the larger picture that comes into focus when viewing the photo mosaic from a distance. The best main images typically come from:
Optimal Choices:
– Close up portraits
– Landscapes with one or two focal points
– Architecture with defined lines
– Simple logos or large/bold text
– Defined simple silhouettes
What to Avoid:
-Crowded compositions
– Landscapes without a clear focal point
– Low-contrast and monochromatic images
– Intricate details that may be lost
– Complex logos and thin lined/small text
2. The Cell Library
The building blocks of your mosaic are the individual images, or “cells” that come together to form a grid. The larger the number of images, the better the final mosaic will be, as each image adds a unique element to the overall design.
3. Consider sourcing them from:
– Personal photo collections on your PC or Phone
– Family and Friends
– Shared folders/drives (ex. Dropbox, Google Photos)
– Social media archives
– Stock libraries
– AI-generated images
The key to a successful mosaic is variety—both in content and visual characteristics. Avoid using too many similar looking images, as they can create unwanted patterns in the final piece and could be placed close to one another.
Technical Considerations
1. Photo Mosaic Sizing
Thesize and orientation of your mosaic are entirely up to you and your personal preferences, but remember to think about where and how it will be displayed. If you are looking to frame your photo mosaic, be sure to select a common frame size or ratio.
2. Cell Orientation
Many mosaic software tools, like The Online Mosaic Tool, will be able to determine the best orientation for the cells by selecting the most common orientation found in the photo library. Square cells offer the most flexibility when there is a large mix of horizontal and vertical images, though cropping may be required to ensure the subject of the image is in frame.
3. Output and Display
How you present your mosaic can significantly impact its visual effect:
Traditional Media:
– Canvas prints for texture and artistic depth
– Matte paper for clarity without glare
– Luster finishes for a balance of vibrancy and sophistication
Alternate Creative Options:
– Adhesive vinyl that sticks directly to your wall with no frame needed
– Aluminum or acrylic for a modern touch
– High-resolution digital files for versatile use
The Creation Process
Now that you understand the different elements that are needed to make your photo mosaic, it is time to add your images to your chosen software.
We suggest using The Online Mosaic Tool. After you upload your photos, the tool will create your mosaic in a matter of minutes. On each step of the tool there are links to a tutorial video that explains the various actions you can do on each step. From the final ‘Explore’ step, you will be able to purchase a hi-res digital file, premium print and even embed the mosaic on your personal website. The tool also allows you to create a fully interactive online version of the mosaic. You can learn more about our engaging Online Interactive Mosaics here!


